VPN / Private Access
What is Private Access?
Kovra Cloud databases are always internal to the cluster and never exposed to the public internet. Private access via WireGuard VPN lets you:
- Connect to your databases from your local machine using tools like
psqlor GUI clients - Access applications configured with
privateaccess mode - Reach internal Kubernetes services within your tenant namespace
Private access is available on Business ($300/mo) and Enterprise Cloud ($450/mo) plans only. Developer and Team plans do not include VPN.
Architecture
Each tenant gets a dedicated WireGuard pod deployed in their namespace when VPN is enabled. The architecture uses:
- One WireGuard peer per organization (no multi-peer support)
- Shared Network Load Balancer (NLB) across all Business/Enterprise tenants
- Unique NodePort allocated per tenant from a pre-seeded port pool
- Deterministic subnet derived from the tenant UUID (format:
10.X.Y.0/24)
The VPN endpoint hostname is vpn.cloud.kovra.dev with a per-tenant port.
Enabling VPN
Prerequisites
- Business or Enterprise Cloud plan
- Tenant in
readystatus
Step-by-Step
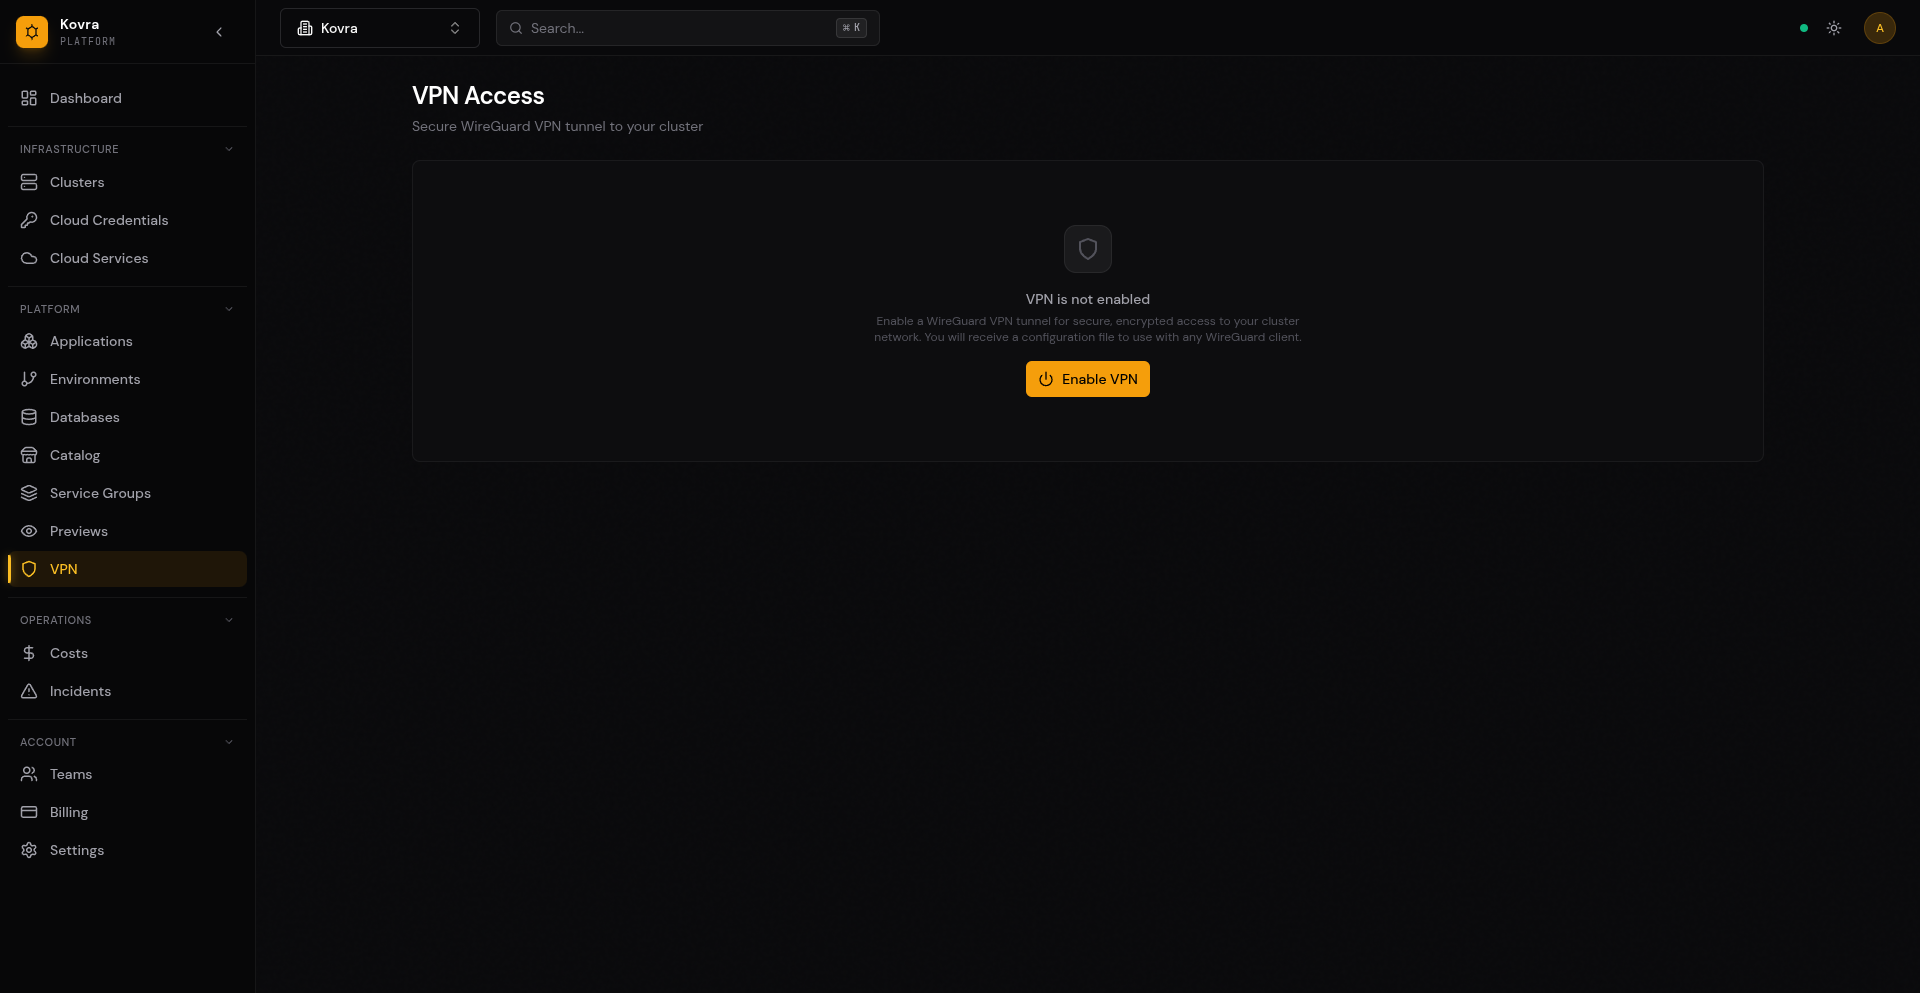
- Navigate to the VPN page in the dashboard sidebar
- Click Enable VPN
- Wait for the VPN status to transition from
enablingtoenabled(typically a few seconds) - Download the WireGuard configuration file
VPN Status Lifecycle
| Status | Description |
|---|---|
unavailable | Your plan does not include VPN (Developer or Team) |
disabled | VPN is available but not enabled (Business or Enterprise Cloud) |
enabling | VPN is being provisioned (keys generated, port allocated) |
enabled | VPN is active and ready for connections |
failed | VPN provisioning failed (port or key generation error) |
Downloading WireGuard Config
After enabling VPN, the WireGuard configuration file is available for download on the VPN page. You can download it at any time while VPN is enabled.
Example Configuration
[Interface]
PrivateKey = <your-private-key>
Address = 10.42.128.2/24
DNS = 10.96.0.10

[Peer]
PublicKey = <server-public-key>
AllowedIPs = 10.96.0.0/12, 10.0.0.0/8
Endpoint = vpn.cloud.kovra.dev:31001
PersistentKeepalive = 25
Configuration details:
- Address — Your assigned client IP within the VPN subnet
- DNS — Points to the Kubernetes CoreDNS service for in-cluster name resolution
- AllowedIPs — Routes Kubernetes service and pod network traffic through the VPN tunnel
- PersistentKeepalive — Keeps the connection alive through NAT devices
Connecting from Your Devices
macOS
- Install WireGuard from the Mac App Store
- Open WireGuard and click Import Tunnel(s) from File
- Select the downloaded
.conffile (or paste the configuration) - Click Activate to connect
Linux
- Install WireGuard:
# Ubuntu/Debian sudo apt install wireguard # Fedora sudo dnf install wireguard-tools - Save the configuration:
sudo tee /etc/wireguard/kovra.conf << 'EOF' <paste your configuration here> EOF sudo chmod 600 /etc/wireguard/kovra.conf - Connect:
sudo wg-quick up kovra - Disconnect:
sudo wg-quick down kovra
Windows
- Install WireGuard from wireguard.com/install
- Open WireGuard and click Import Tunnel(s) from File
- Select the downloaded
.conffile - Click Activate to connect
iOS
- Install WireGuard from the App Store
- Tap + then Create from QR code or Create from file or archive
- Import the configuration
- Toggle the tunnel on
Android
- Install WireGuard from Google Play
- Tap + then Import from file or archive or Scan from QR code
- Import the configuration
- Toggle the tunnel on
Accessing Databases via VPN
Once connected to the VPN, you can access your databases using their internal Kubernetes service DNS names.
Connecting with psql
# Connect via VPN (after activating WireGuard tunnel)
psql "postgresql://user:password@kovra-db-a1b2c3d4-rw.kovra-abcd1234.svc.cluster.local:5432/app?sslmode=require"
Connecting with a GUI Client
Use any PostgreSQL client (pgAdmin, DBeaver, DataGrip, etc.) with these settings:
| Setting | Value |
|---|---|
| Host | kovra-db-<id>-rw.kovra-<org>.svc.cluster.local |
| Port | 5432 |
| Database | app |
| Username | from connection URL |
| Password | from connection URL |
| SSL Mode | require |
Important: The VPN must be active for the DNS resolution and connection to work. The DNS server at 10.96.0.10 (Kubernetes CoreDNS) resolves in-cluster service names.
Disabling VPN
To disable VPN, navigate to the VPN page and click Disable VPN. This:
- Terminates the WireGuard pod
- Releases the allocated NodePort back to the pool
- Clears all VPN keys and configuration from the database
- Disconnects any active VPN clients
Warning: Disabling VPN immediately disconnects all active sessions. Any tools connected via VPN will lose their connection.
Regenerating VPN Configuration
If you need to rotate keys (for example, if you suspect a key compromise or want to revoke access from a device), click Regenerate Keys on the VPN page.
After regenerating:
- The old configuration immediately stops working
- All connected clients are disconnected
- Download the new configuration and import it into your WireGuard client
- The endpoint and client IP remain the same; only the keys change
Error Handling
Common Errors
| Error | Status | Cause |
|---|---|---|
vpn_not_available with upgrade_required: true | 403 | Your plan does not include VPN; upgrade to Business or Enterprise Cloud |
tenant not found | 404 | Invalid tenant ID or tenant does not belong to your organization |
tenant is not ready | 409 | Tenant is still provisioning; wait until status is ready |
VPN is already enabled | 409 | VPN is already active; use GET to retrieve current status |
VPN is not enabled | 409 | Cannot disable or regenerate when VPN is not enabled |
VPN is currently being enabled | 409 | VPN provisioning is in progress; wait and retry |
no VPN ports available | 503 | All NodePorts are allocated; try again later |
Next Steps
- Managed Databases — Create databases to access via VPN
- App Deployment Guide — Configure private access for your apps
- Billing & Usage — Plans that include VPN