Getting Started with Kovra Cloud
What is Kovra Cloud?
Kovra Cloud is a fully managed Platform-as-a-Service (PaaS) tier within the Kovra IDP. It lets you deploy applications and provision managed databases without managing any infrastructure yourself. No Kubernetes knowledge required — just push code and Kovra Cloud handles the rest.
Key features:
- Deploy apps from Git repositories or pre-built templates
- Managed PostgreSQL databases via CloudNativePG (CNPG)
- Automatic TLS certificates and custom domain support
- WireGuard VPN for private access (Business and Enterprise Cloud plans)
- Usage-based billing with predictable flat-rate base pricing
- Built-in monitoring, logging, and alerting
How Kovra Cloud Differs from BYOC
| Feature | Kovra Cloud (PaaS) | BYOC (Bring Your Own Cluster) |
|---|---|---|
| Infrastructure | Fully managed by Kovra | You manage your own K8s clusters |
| Setup time | Deploy in minutes | Connect cluster, configure namespaces |
| Databases | One-click managed PostgreSQL | Self-managed or via managed services |
| Networking | Automatic TLS, optional VPN | You configure ingress/TLS |
| Billing | Flat rate + usage overage | Per-cluster resource billing |
| Target user | Developers, small teams | Platform engineers, DevOps teams |
Signing Up
- Create a Kovra account at app.kovra.dev using email and password.
- Create or join an organization. Each organization gets its own isolated tenant namespace.
- The Kovra Cloud feature must be enabled for your organization.
Picking a Plan
Kovra Cloud offers four plans. All plans include unlimited team members — pricing is based on infrastructure consumed, not seat count.
| Plan | Price | vCPU | RAM | Storage | Databases | VPN |
|---|---|---|---|---|---|---|
| Developer | $50/mo | 1 | 2 GB | 10 GB | 1 | No |
| Team | $100/mo | 4 | 8 GB | 50 GB | 3 | No |
| Business | $300/mo | 8 | 16 GB | 100 GB | 10 | Yes |
| Enterprise Cloud | $450/mo | 16 | 32 GB | 500 GB | Unlimited | Yes |
See Billing & Usage for detailed plan information.
Deploying Your First App
Prerequisites
- An active Kovra Cloud tenant (provisioned automatically when you pick a plan)
- A GitHub or GitLab integration connected (Settings > Integrations)
Step 1: Create a Tenant
When you first select a Kovra Cloud plan, a tenant is automatically provisioned for your organization. The tenant creates an isolated namespace in the format kovra-{first-8-chars-of-org-uuid}.
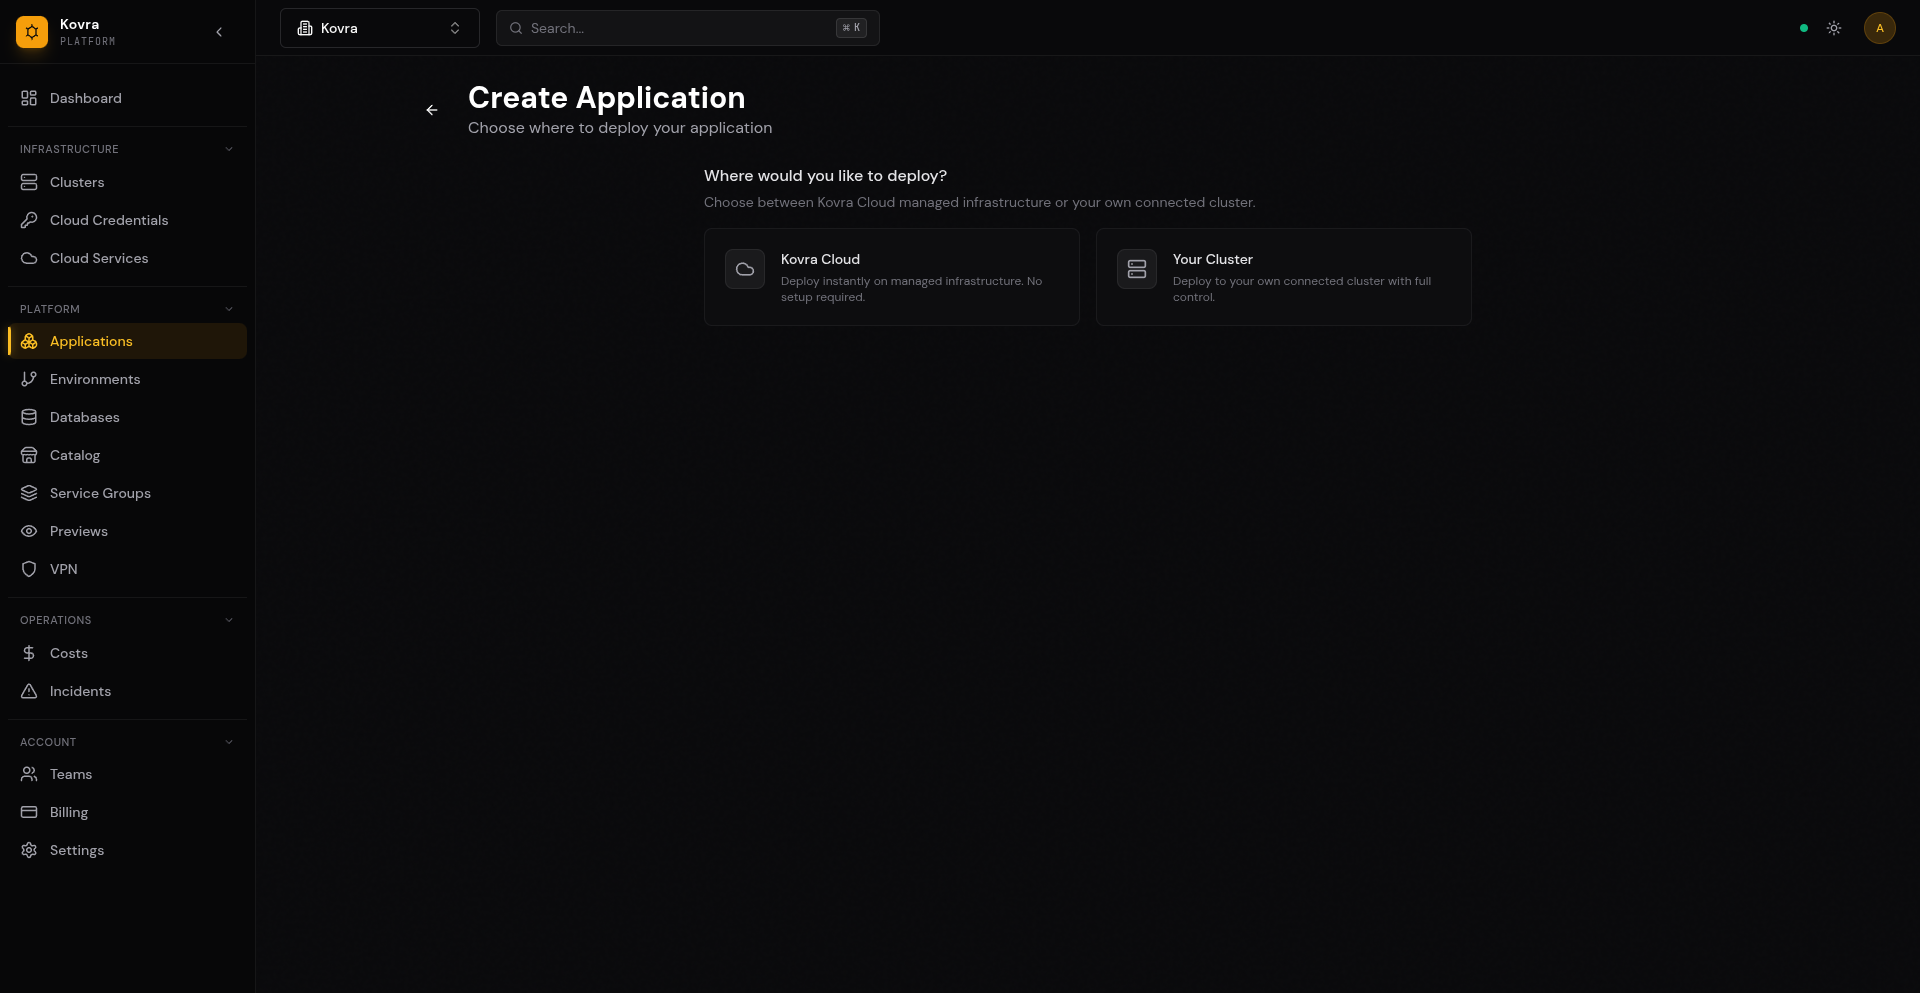
Step 2: Create an Application
Navigate to Apps in the dashboard and click Create Application. You have two options:
From Template:
- Select a pre-built template (Go, Java, Next.js, or Fullstack)
- Pick your connected GitHub/GitLab integration
- Enter a name and description
- Kovra Cloud automatically creates a Git repository and deploys the app
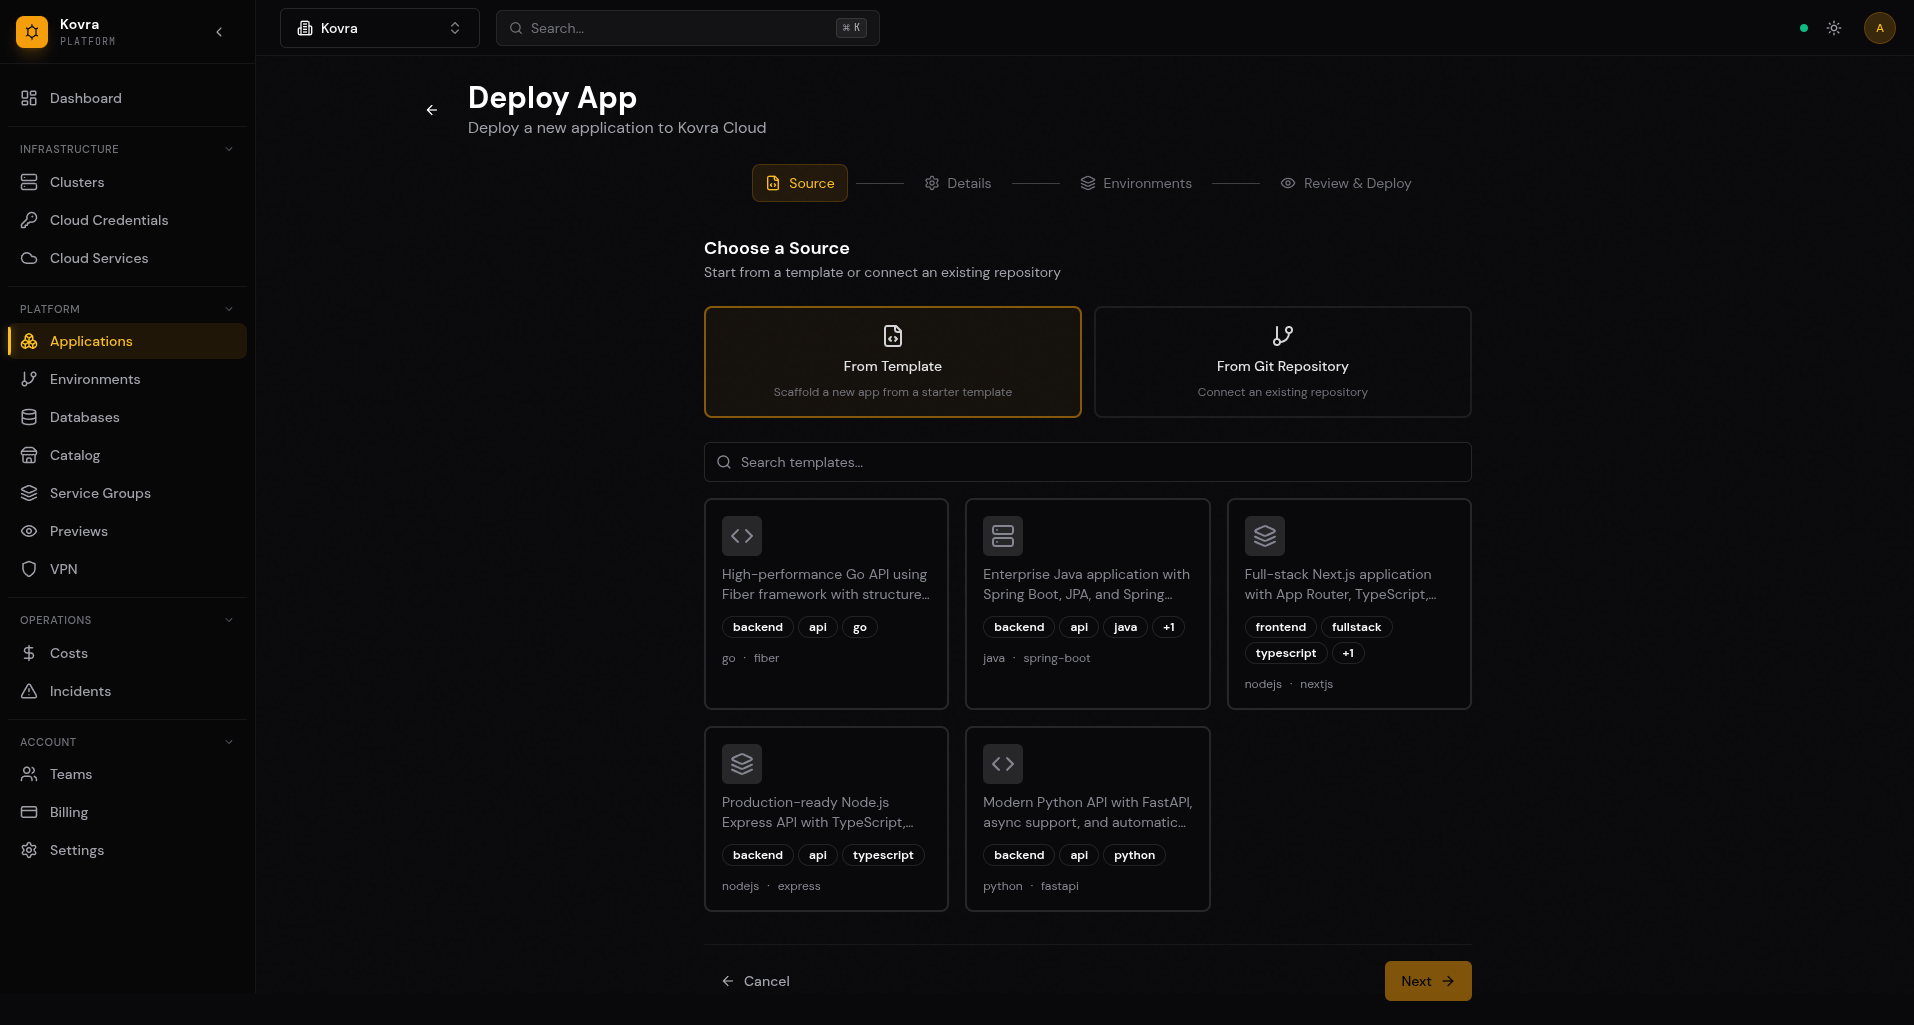
From Git Repository:
- Select an existing repository from your connected integrations
- Enter a name and description
- Kovra Cloud deploys from your repository
Step 3: Wait for Deployment
The application goes through these stages:
- pending — Application record created
- provisioning — Helm chart being deployed to your tenant namespace
- ready — Application is live and accessible
Step 4: Access Your App
Once deployed, your app is accessible at a generated URL. You can also configure a custom domain (see App Deployment Guide).
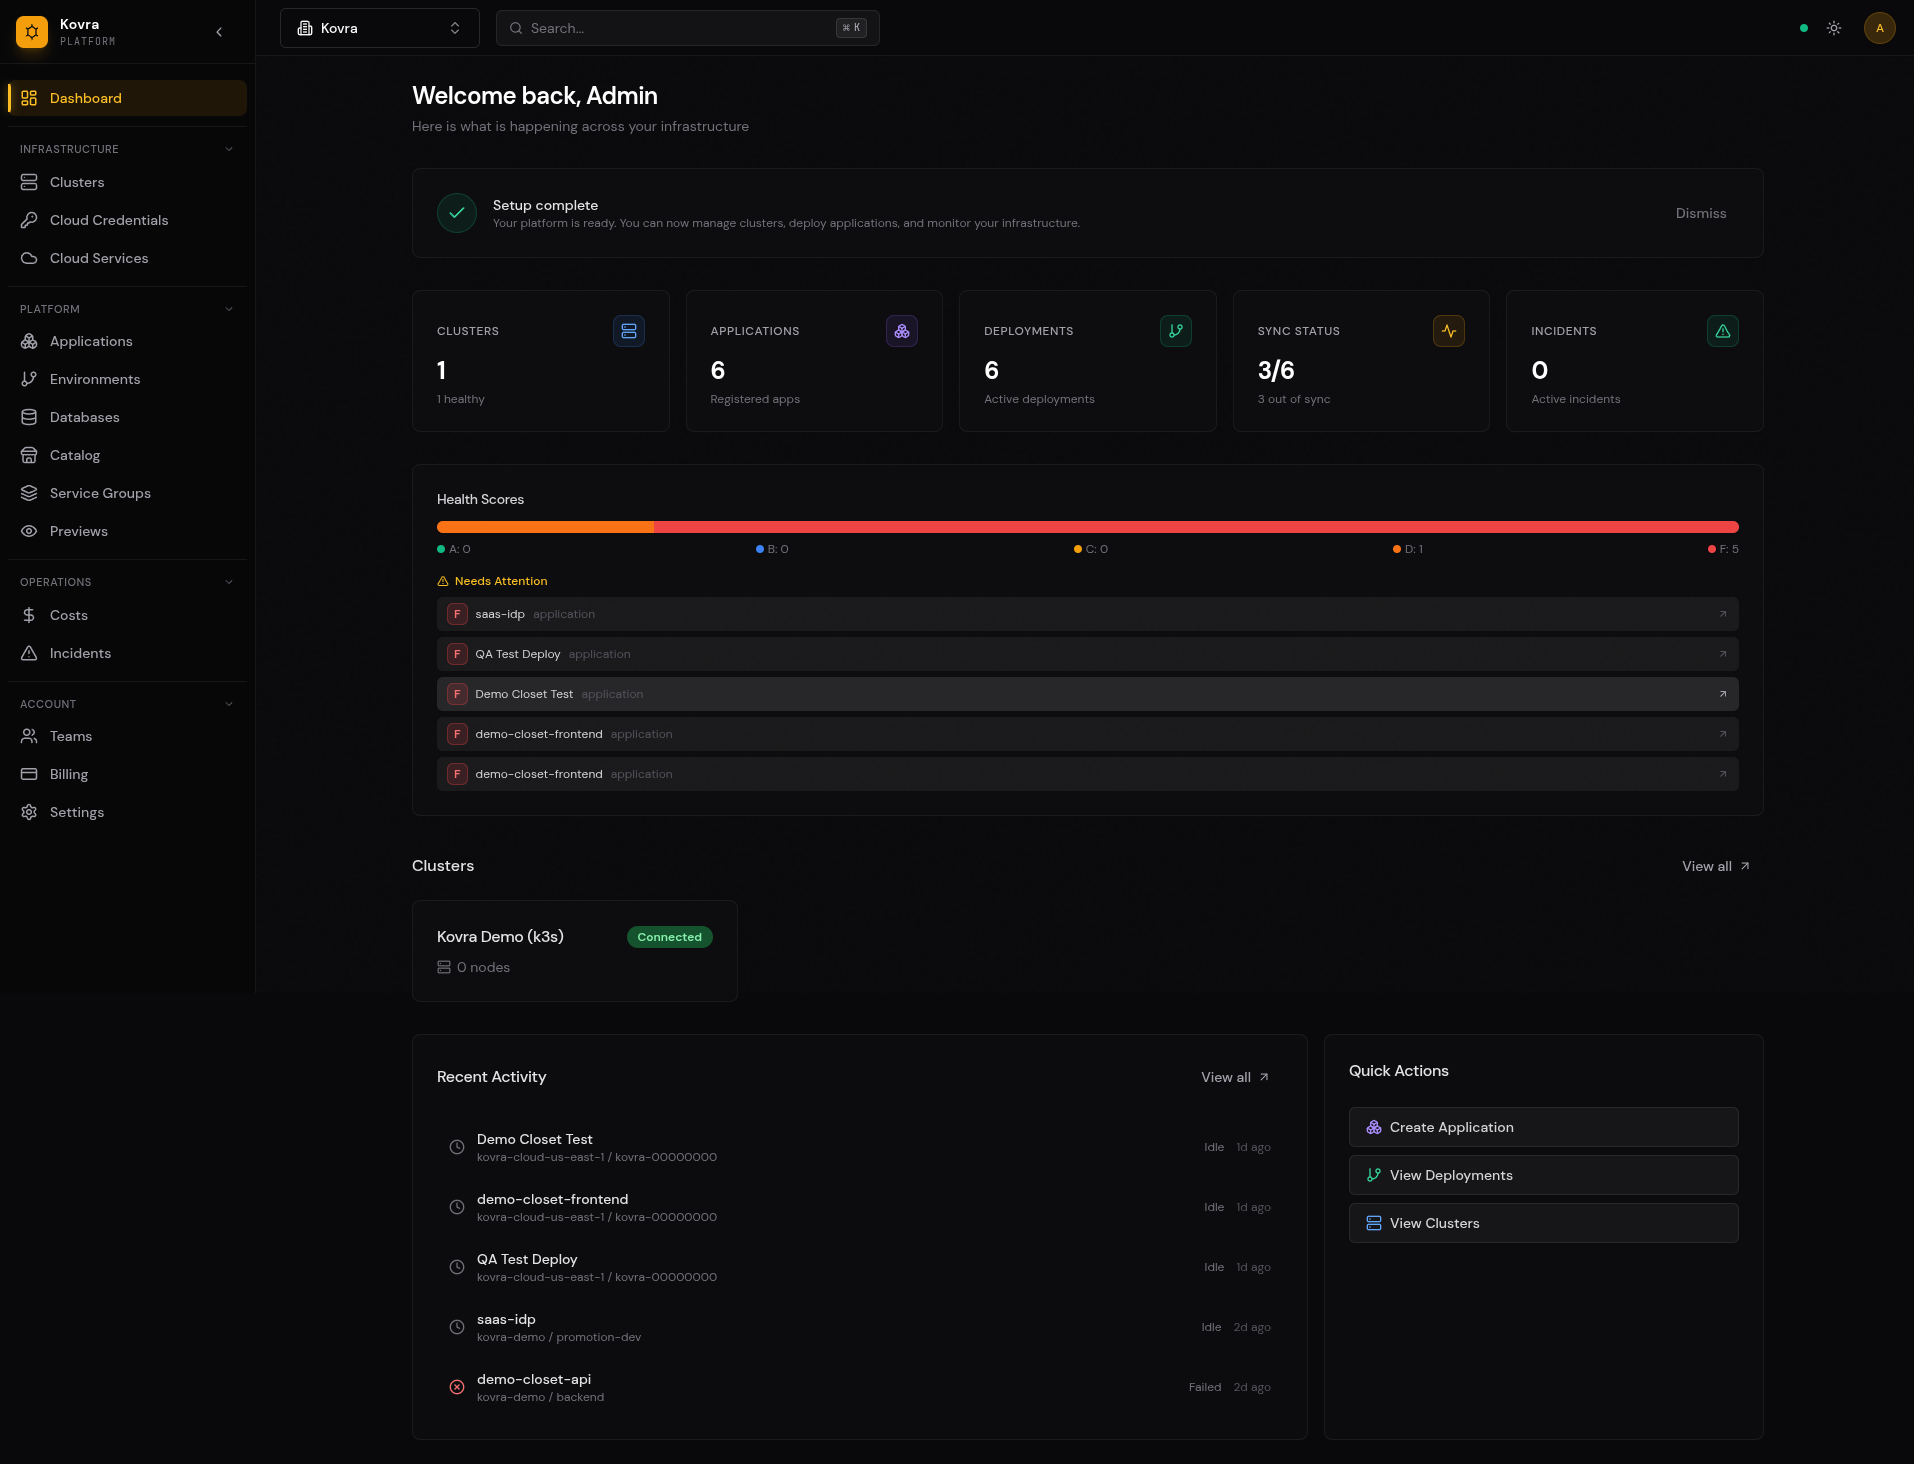
Understanding Your Dashboard
When your organization uses Kovra Cloud, the dashboard shows an app-centric view:
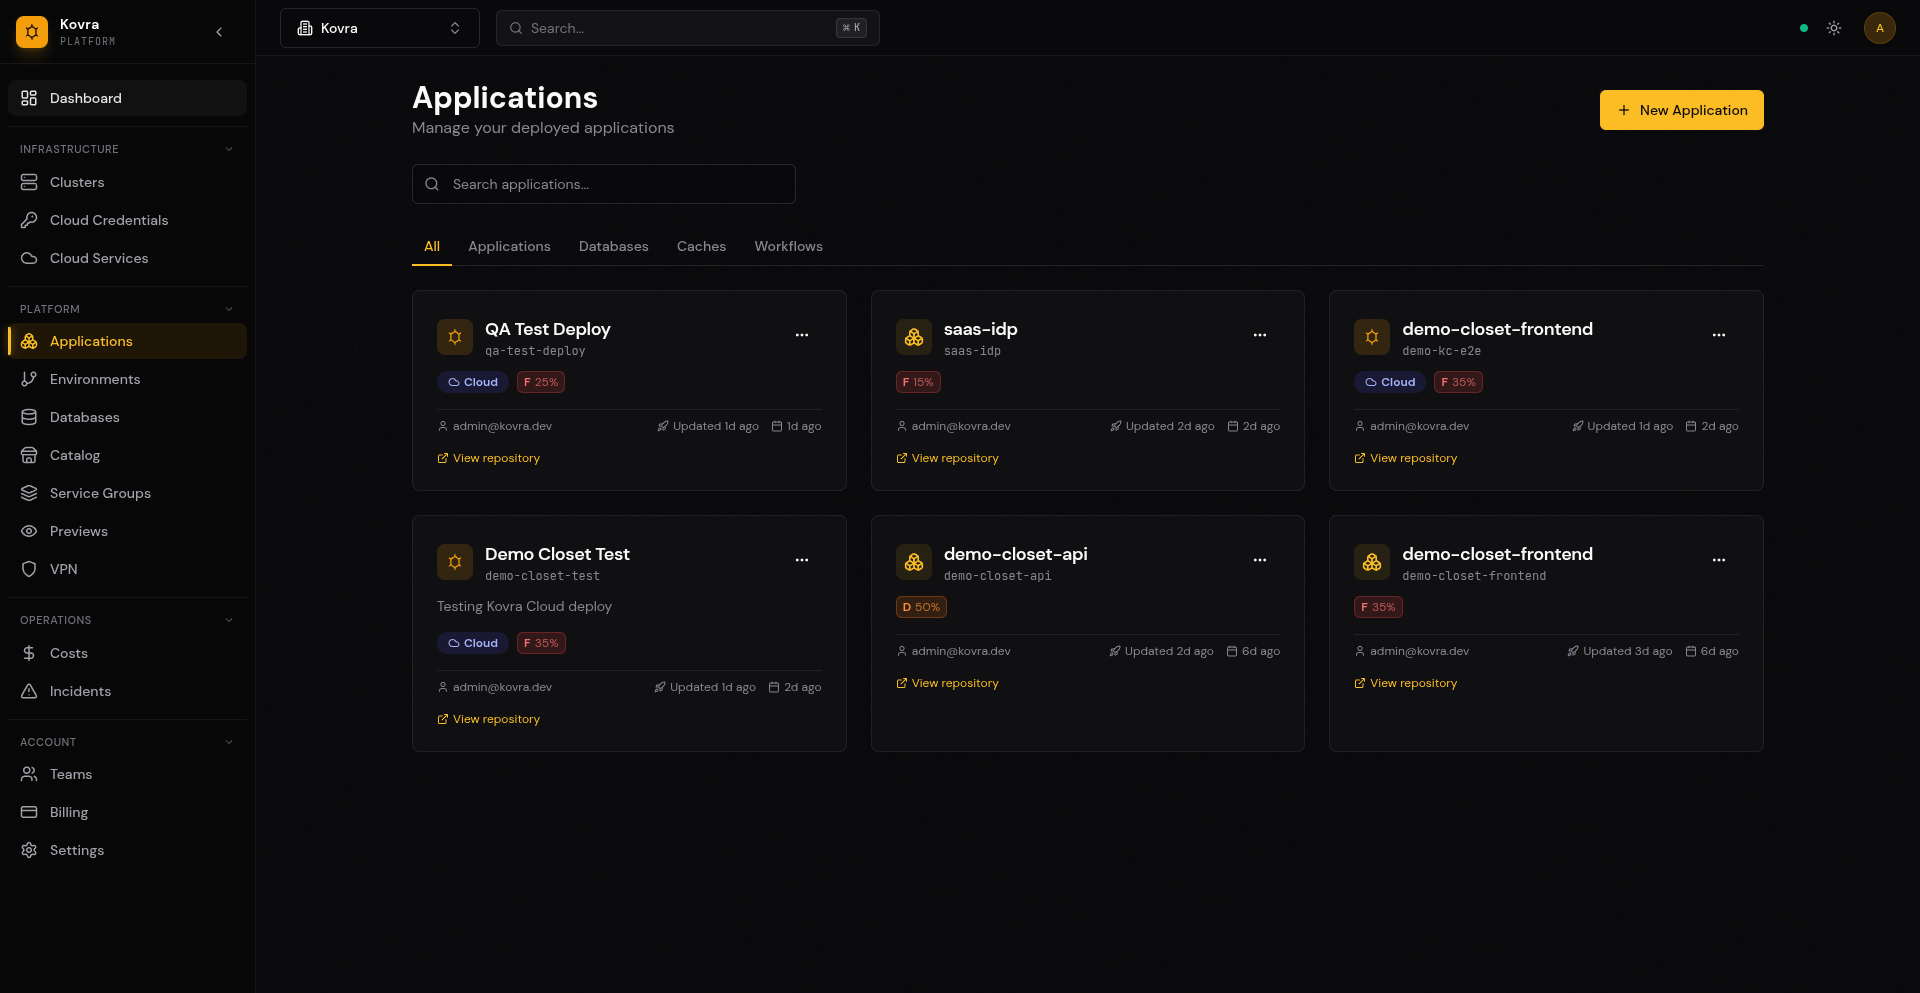
Apps
View, create, and manage your deployed applications. See deployment status, logs, and resource usage.
Databases
Create and manage PostgreSQL databases. View connection strings and monitor database health.
VPN (Business and Enterprise Cloud)
Enable WireGuard VPN for private access to your databases and internal services. Download configuration files for your devices.
Usage
Monitor your current resource consumption against your plan limits. View vCPU, RAM, storage, and database usage.
Organization States
The dashboard adapts to your organization’s setup:
- Empty organization — Shows a “Deploy your first app in 2 minutes” landing page with a call-to-action.
- Kovra Cloud only — Shows the app-centric dashboard described above (Apps, Databases, VPN, Usage).
- BYOC only — Shows the standard cluster-centric dashboard with a Kovra Cloud promotional banner.
- Mixed (Kovra Cloud + BYOC) — Shows both sections. When creating an app, a “Where to deploy?” step lets you choose between Kovra Cloud and your own clusters.
Next Steps
- App Deployment Guide — Deep dive into deploying and configuring applications
- Managed Databases — Create and manage PostgreSQL databases
- VPN / Private Access — Set up WireGuard VPN (Business+ plans)
- Billing & Usage — Understand your plan and resource usage